How to Factory Reset your iPad
Creation date: 12/18/2023 9:35 AM
Updated: 8/10/2026 8:48 AM
This knowledgebase article will detail how to restore and update your iPad and factory reset it to its default state.
Important Note: The Reset process will delete any data saved on your iPad, so verify that all data is backed up in case an error occurs. Bluefield University is not responsible for any lost data during this process.
1: Installing iTunes
- To begin, you will need access to a computer with iTunes installed. Macs will have iTunes preinstalled, but Windows devices will need to have it manually installed.
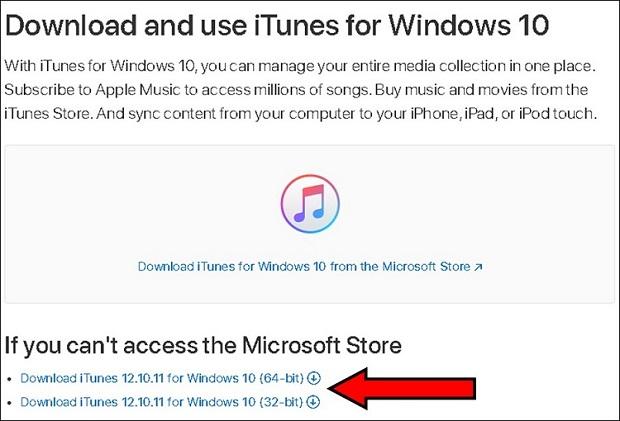
- Go to the iTunes Windows download page and select the appropriate version.
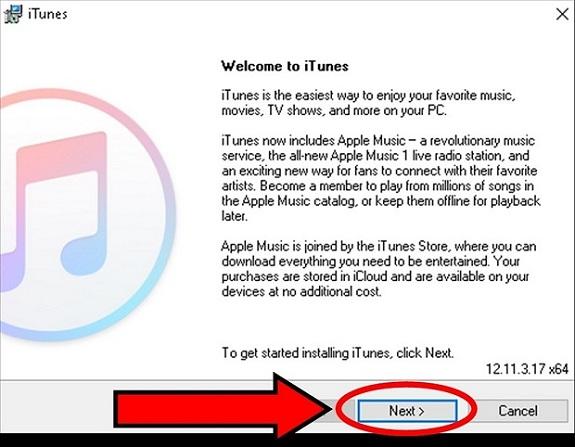
- After the download is finished, opening it will begin the iTunes Installation Wizard. When the “Welcome to iTunes” page is displayed, select “Next>.”
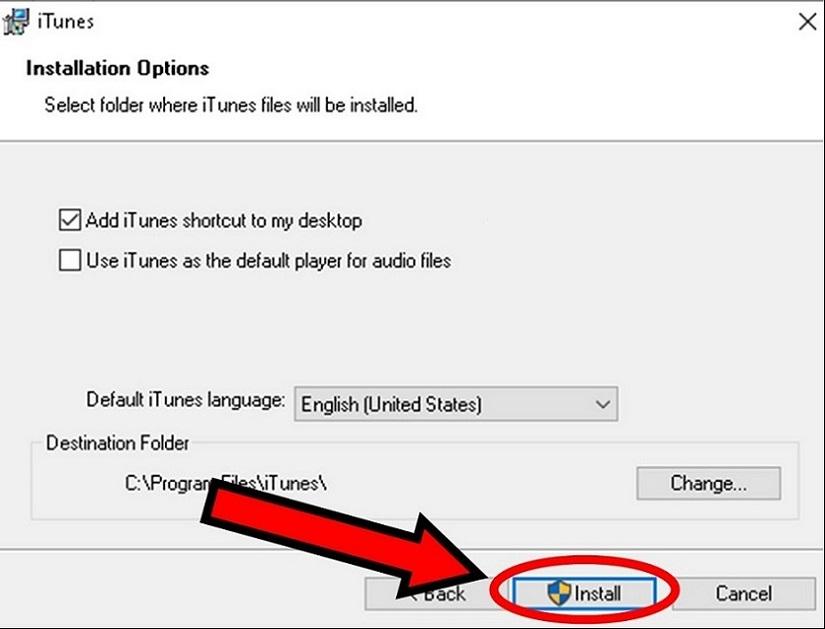
- On the following page, select “Install.”
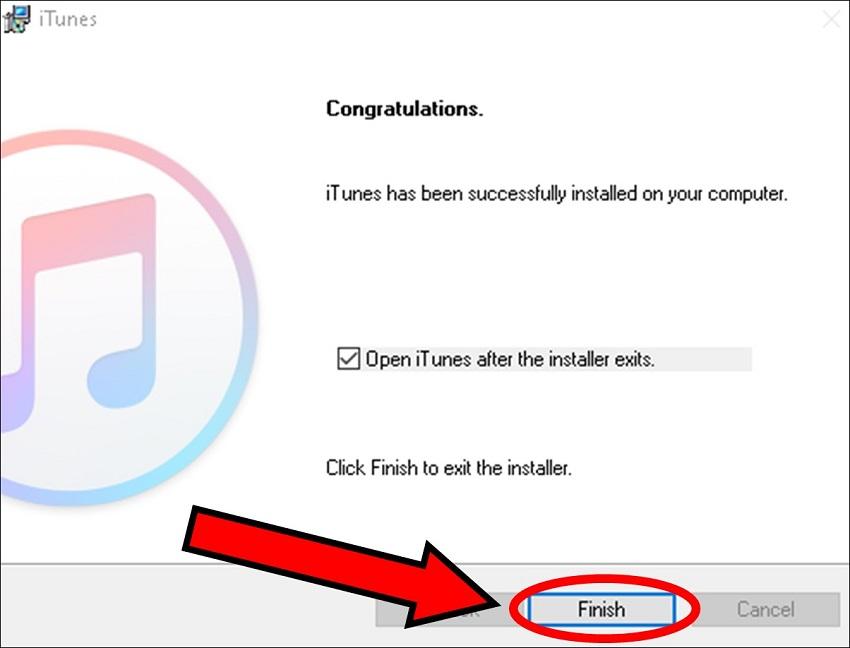
- The iTunes installation wizard will take a few minutes to finish the installation. After the installation is completed, select “Finish” to close the wizard.
2: Resetting your iPad
- After you have installed iTunes on your computer, return to your iPad and put it into Recovery Mode.
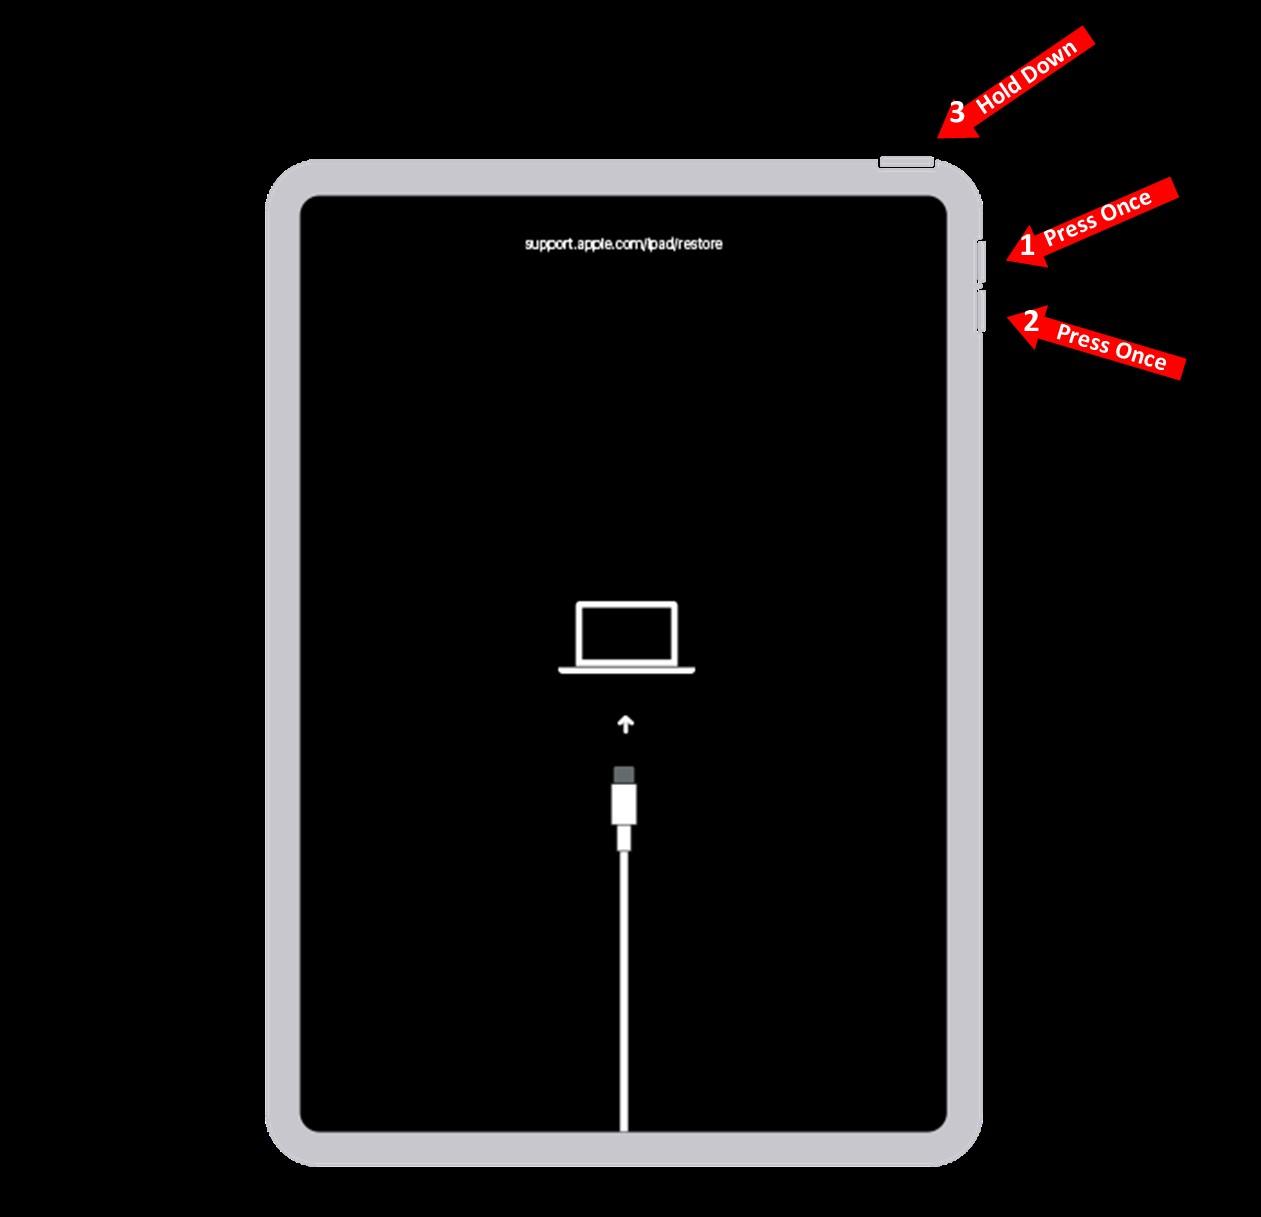
- To put your iPad into Recovery Mode, set it vertically and press Volume Up, Volume Down, and then hold down the Power Button. When the Apple logo appears, connect the iPad to your computer while continuing to hold down the Power Button. After a few moments, the Recovery Mode screen will be displayed as shown below. Once this screen appears, release the Power Button.
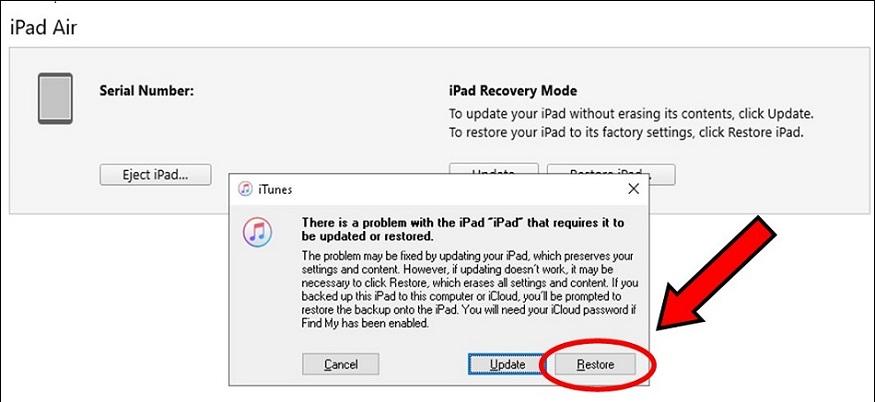
- With your iPad in Recovery Mode, open iTunes and select “Restore iPad” and then “Restore.”
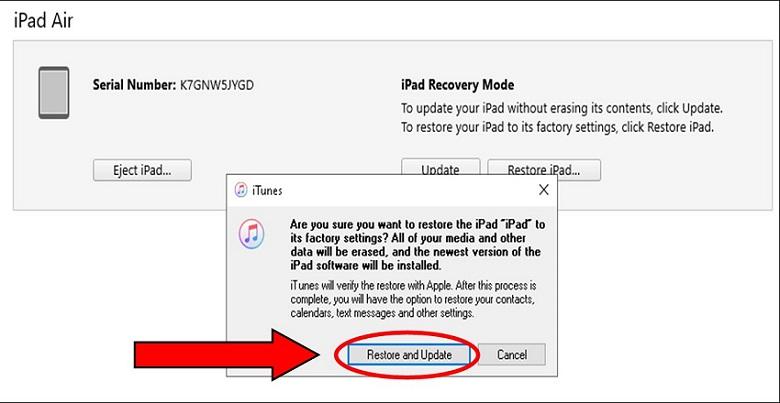
- Next, select “Restore and Update.”
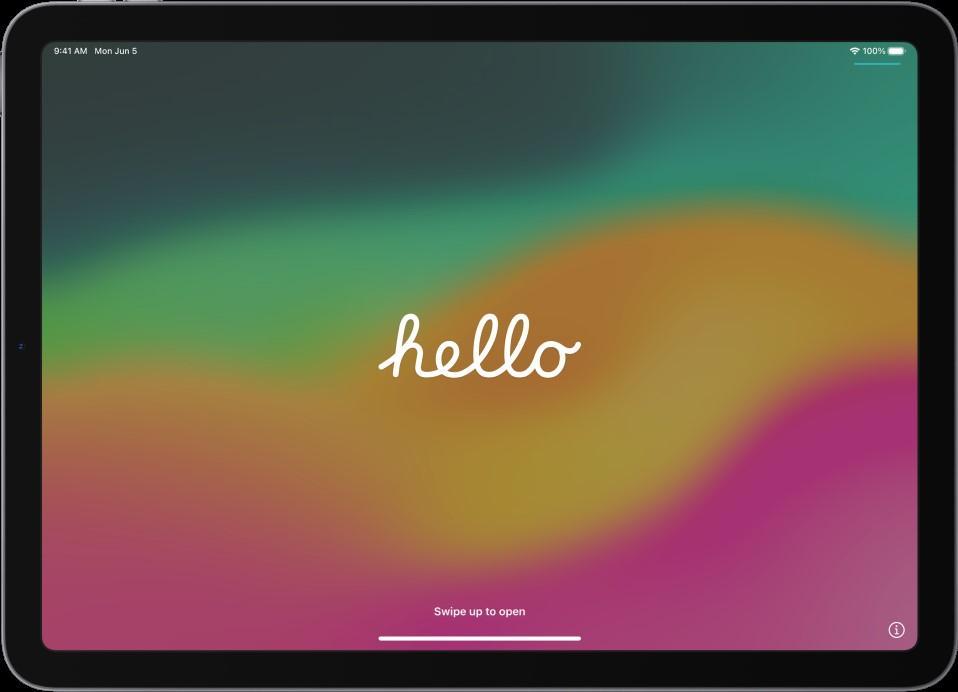
- After several minutes, your iPad will display a page saying “Hello.” From here, you can log back into your iPad with your Apple ID and set your device back up to its previous settings; it is important to note that you do not log back into your iPad using your Bluefield email, as that will reregister your device with the MDM software.